
Ultimate Guide to Pre-Lift Planning for Complex Lifts
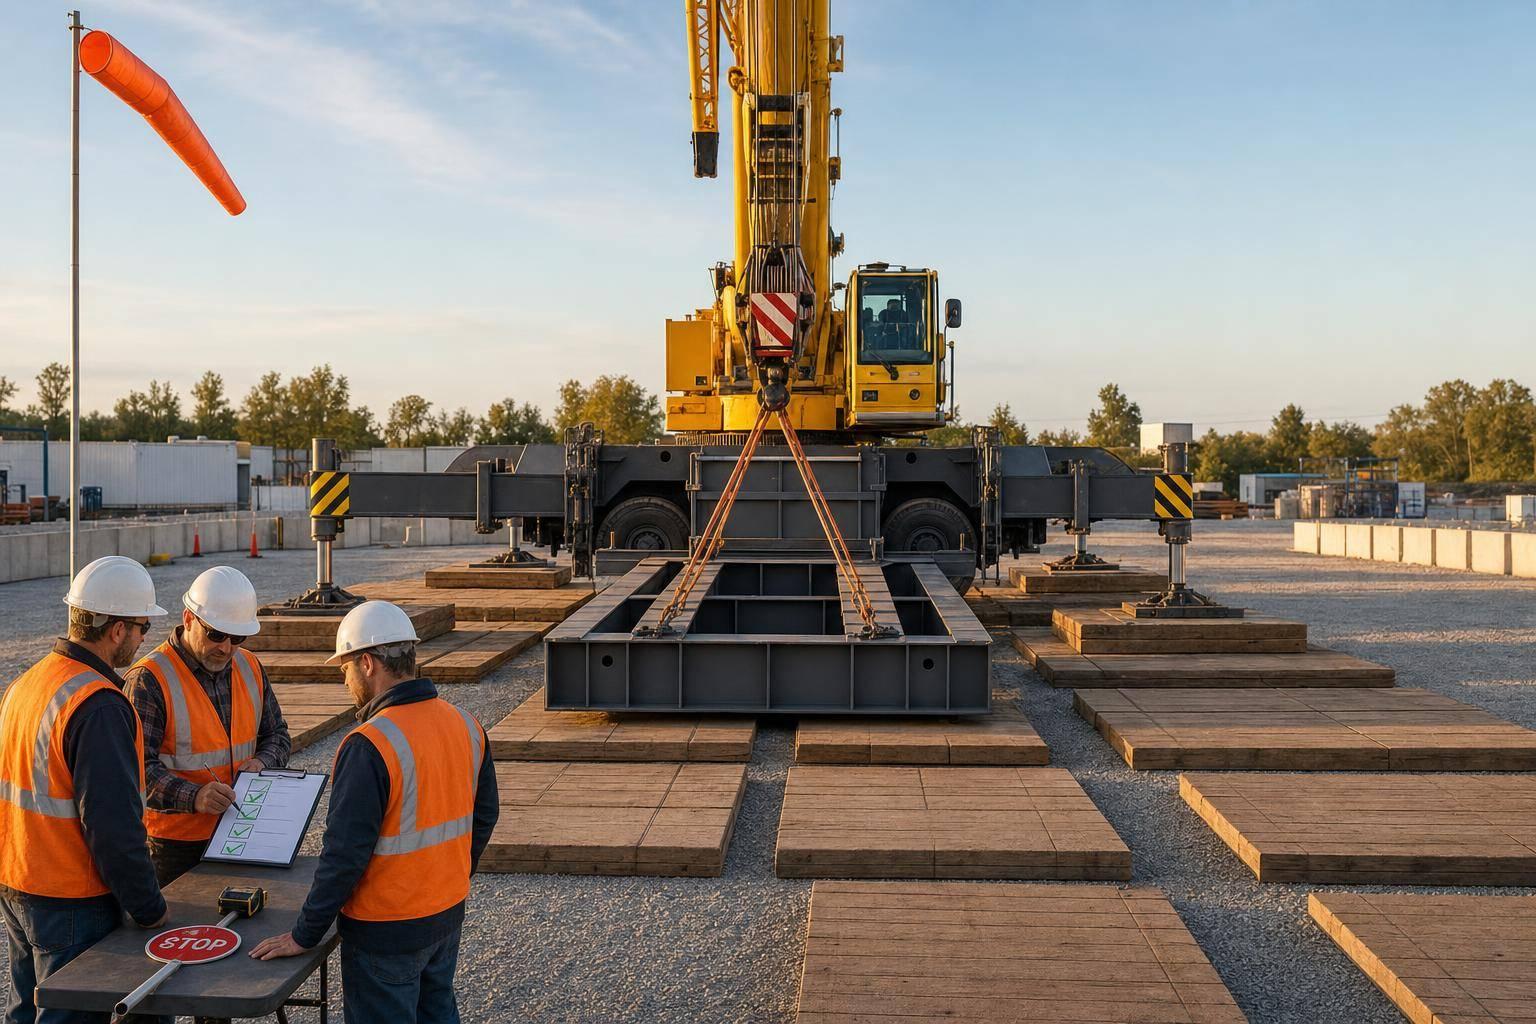
A complex lift should not start until the load, crane setup, ground support, crew roles, and stop-work rules are checked and written down. If a lift is over 75% of chart capacity, uses more than one crane, involves a blind pick, or takes place near power lines or in a tight city site, I treat it as a critical lift and plan it that way from the start.
Here’s the short version:
- I confirm the gross load, including all below-hook gear
- I match that load to the crane’s exact chart setup
- I check ground-bearing pressure, mat area, and level
- I map the load path, tail swing, and clearance distances
- I assign the Lift Director, operator, signal person, and rigging team
- I set hard wind limits, radio rules, and stop-work triggers
- I hold a pre-lift meeting and complete a final field checklist
A few numbers matter right away:
- Critical lift trigger: more than 75% of rated crane capacity
- Test hold for heavy or multi-crane picks: 1 ft off the ground for 3 seconds
- Personnel setback during that check: 10 ft
- Crane level limit: no more than 1% slope
- LMI check: within ±5%
This article boils the process down to what I need before the first hook moves: a written plan, field checks, crew alignment, and a clear stop if conditions change.
| Check area | What I verify |
|---|---|
| Load | Total weight, rigging weight, pick points |
| Crane | Model, boom length, radius, counterweight, parts of line |
| Ground | Bearing pressure, matting, level, support under outriggers |
| Site | Access, utilities, power lines, swing clearance, landing area |
| Crew | Roles, qualifications, hand signals, radio channel |
| Limits | Wind, weather, blind-pick rules, stop-work authority |
If the lift in the field does not match the plan on paper, I stop and recheck before work starts.
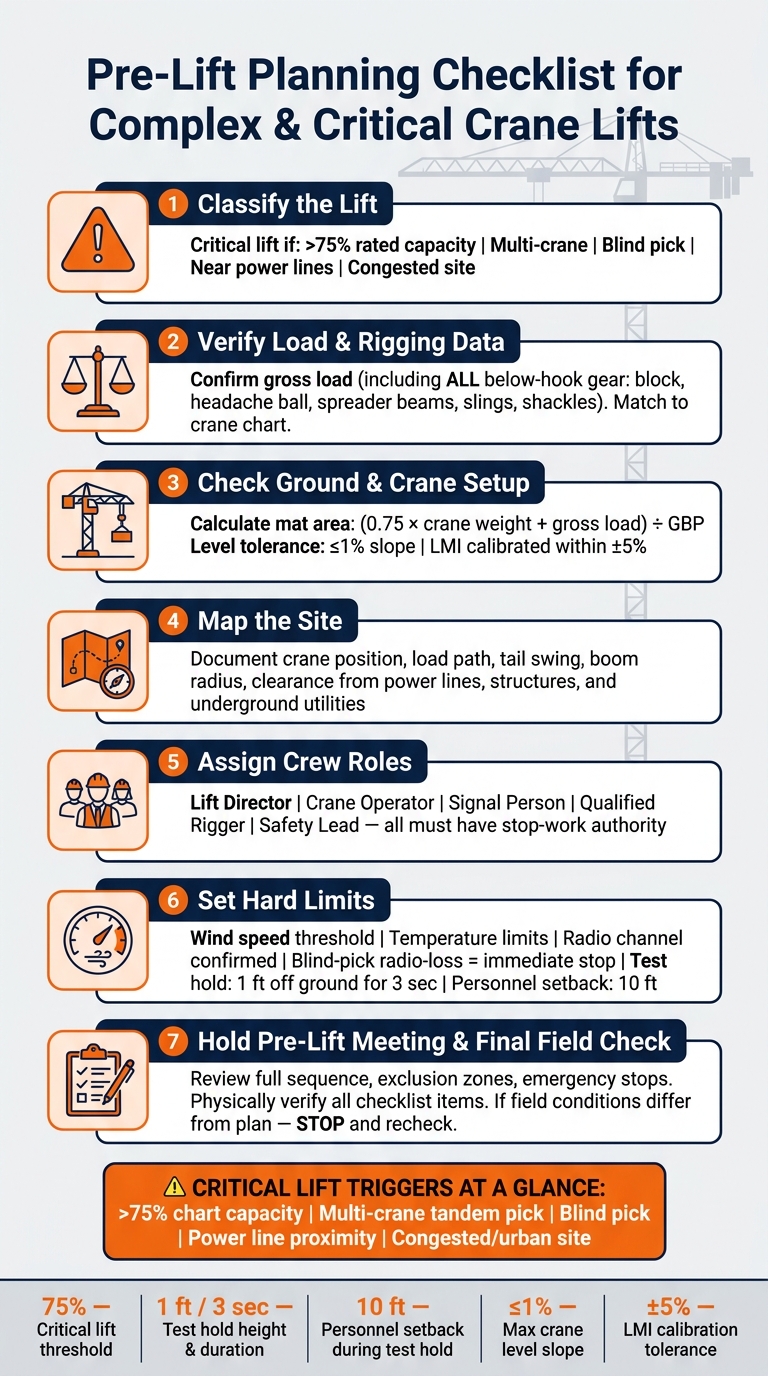
Pre-Lift Planning Checklist for Complex & Critical Crane Lifts
Tandem Crane Lift | Critical and complex crane lifting operations #safetyfirstlife #cranelift #hse
sbb-itb-798c36f
How to Build a Written Pre-Lift Plan
A written pre-lift plan turns a hard lift into a checked, step-by-step sequence. Once roles are assigned, that plan becomes the site's working control document.
Load, Crane, and Rigging Data That Must Be Verified
Start with the total pick weight, including all below-hook rigging. That means the plan needs to account for every item below the hook, including the main block, headache ball, spreader beams, slings, and shackles. Add all of that gear to the load, then check the final gross weight against the crane chart.
On the crane side, the plan needs to document the exact configuration: the specific model, boom length, boom angle at the pick and set positions, counterweight setup, jib status, and the number of parts of line. Those details decide which load chart applies. Miss one, and the whole setup can be judged against the wrong chart.
Rigging needs the same level of care. The plan should state the lifting method - vertical, choke, basket, or multi-leg - because the mode factor changes the sling capacity you need. On heavy lifts and long-radius picks, checked numbers help cut out avoidable surprises.
Site Drawings, Ground Conditions, and Environmental Limits
The written plan must include drawings that show crane position, load position, boom length, radius, sling angles, tail swing, and clearance distances from power lines, adjacent structures, pipelines, and other obstructions. On a tight site, that drawing is what keeps the lift path, tail swing, and clearances from running into each other.
Ground-bearing pressure (GBP) also needs to be in the plan. Mat size should be calculated from crane weight, load, and ground-bearing pressure using this formula: (0.75 × crane weight + gross load) ÷ GBP.
Environmental limits belong in the plan too. That includes clear wind-speed thresholds and temperature limits that trigger a work stoppage. Put those stop-work thresholds in writing so no one is left guessing in the field.
Standard Lift Plan vs. Critical Lift Plan
Not every lift needs the same amount of paperwork. But the line between a standard plan and a critical lift plan is plain. A lift becomes critical when the load is more than 75% of the crane's rated capacity, involves multiple cranes, or happens over congested areas or power lines.
The table below shows the difference:
| Feature | Standard Lift Plan | Critical Lift Plan |
|---|---|---|
| Trigger Criteria | Routine loads; <75% of rated capacity | >75% capacity; multi-crane; congested areas; unknown weights |
| Documentation | Basic configuration and load data | Engineering drawings, load charts, matting plans |
| Ground Review | Visual site inspection | Formal GBP assessment with calculated mat area |
Source: Spear & Lancaster LLC
If any critical trigger is present, the lift moves to formal approval, engineering review, and a pre-lift meeting - not verbal approval alone. That written plan should guide the pre-lift meeting and the final field check.
Planning for Multi-Crane Lifts, Heavy Picks, and Tight Sites
Once the written plan is done, the hard part starts: using it in the kinds of conditions that leave almost no room for mistakes. That usually means heavy picks near capacity, tandem crane work, and jobsites where space is squeezed from every side. In those cases, the controls on paper have to hold up in the field.
Multi-Crane Lifts and Near-Capacity Heavy Lifts
Multi-crane lifts bring load-share and timing risk. If one crane moves faster than the other, the load can shift, and one crane may take on more weight than planned. For that reason, one Lift Director must coordinate all operators and riggers during the lift.
Before the lift starts, verify each crane's share of the load in the planned setup. On near-capacity picks, many teams also use a conservative capacity margin to add buffer.
Before starting the full lift sequence, raise the load 1 ft, hold it for 3 seconds, and keep personnel 10 ft back to check balance and brake function. The wind cutoff should also be set in writing before the lift begins.
Urban and Confined-Site Constraints in the Northeast
Tight urban sites make the job harder because the plan has to deal with overhead power lines, nearby structures, underground utilities, and narrow access. On confined sites, outrigger loads can exceed what unprepared ground can support. That is why a formal bearing-pressure check and an engineered matting plan are required before the crane is positioned.
If the operator cannot see the load or the landing area, the lift becomes a blind pick. In that case, the crew needs radio communication rules built for that setup, and if radio contact is lost, the operator must stop all movement at once.
Single-Crane vs. Multi-Crane Risk Controls
Single-crane lifts use standard controls. Tandem lifts need tighter coordination, engineered rigging, and stricter stop-work limits.
A simple way to look at it:
- A single-crane lift may rely on standard hand signals and load chart buffers.
- A multi-crane lift needs a dedicated radio protocol, load-share calculations checked before the pick, and a Lift Director who can stop either crane at any time.
Every one of those controls should be written into the plan before mobilization.
Those controls should then be reviewed point by point in the pre-lift meeting before the first pick.
Pre-Lift Meetings, Communication, and Readiness Checks
Once the written plan is approved, the pre-lift meeting is where that plan gets tested in the field. This is the last go/no-go check before anything leaves the ground.
What the Pre-Lift Meeting Must Confirm
The meeting should confirm the full lift sequence, crane position, crew assignments, communication method, weather review, exclusion zones, and what happens if something changes mid-lift. The Lift Director, crane operator, qualified rigger, signal person, and safety lead should all be there, and each person needs to leave the meeting clear on their role.
Just as important, the Lift Director, operator, and rigger must all have the authority to stop the lift at any time.
Communication needs to be locked in before the first pick. Confirm the radio channel or hand signal method, then test it on site. If load weight, ground conditions, or crane configuration changes, stop and recheck the plan before moving ahead.
Final Equipment, Site, and Personnel Checks
Once the crew is aligned, the next step is field verification. No guesswork. No assumptions.
Complete and document the daily pre-start inspection. That includes hydraulics, wire rope, anti-two-block, and LMI. The LMI must also be calibrated within ±5%.
Outriggers need to be fully extended and placed on level ground or engineered mats. The crane should be set within a leveling tolerance of no more than 1% slope. Rigging should be checked for wire rope kinks, cuts in synthetic slings, and any other damage. All hardware must have legible Safe Working Load (SWL) tags. Then verify that rigging SWL is above the gross load, including all below-hook gear.
Access control is not optional. The exclusion zone must be physically cordoned off for the full boom radius, plus a safety buffer.
Pre-Lift Readiness Checklist
Use this checklist as the final gate before the first pick. Every item should be physically verified, not assumed.
Equipment Readiness
- [ ] Daily pre-start crane inspection completed and logged
- [ ] LMI calibrated and functional within ±5%
- [ ] Outriggers fully extended; leveling deviation below 1% slope
- [ ] Mats installed per GBP plan
Rigging Verification
- [ ] All slings and hardware inspected for damage or wear by a qualified rigger
- [ ] SWL tags legible on all rigging components
- [ ] Gross load calculated and verified against rigging capacity
- [ ] Rigging SWL confirmed to exceed gross load
Site Controls
- [ ] Exclusion zone cordoned to planned radius plus buffer
- [ ] Proximity to power lines and structures verified
- [ ] Ground conditions verified at crane position
- [ ] Access and traffic controls in place
Personnel Readiness
- [ ] Operator certification verified
- [ ] Rigger and signal person qualifications confirmed
- [ ] Roles confirmed in the pre-lift meeting
- [ ] Stop-work authority communicated to all personnel
Communication Checks
- [ ] Radio channel confirmed and tested
- [ ] Hand signals reviewed if radio is not primary method
- [ ] Lift Director identified as coordinator
Conclusion: Key Controls That Make Complex Lifts Safer and More Predictable
Once the plan, site review, and readiness checks are done, one last issue remains: does the lift still match the approved controls?
Start with classification. Knowing whether a lift is standard or critical changes how the plan is prepared and reviewed. A critical lift plan needs tighter oversight when the lift goes beyond approved limits or hits critical-lift triggers.
Of course, approved numbers on paper don't mean much if the site can't support them. Before positioning the crane, verify the gross load, crane configuration, SWL at the planned radius and boom length, and ground-bearing pressure. On tight sites, the load path and clearance checks need to be exact. If more than one crane is involved, assign one qualified Lift Director to run the sequence. That keeps the plan tied to what is happening in the field.
The pre-lift meeting and checklist serve as the last gate. They make sure each person knows their role, the communication method, the load path, and the emergency stop procedure. When the plan is written, checked, and followed, complex lifts are easier to control and easier to predict. That is what makes complex lifts safer and more predictable.
FAQs
Who approves a critical lift plan?
For critical or complex lifts, the bar is much higher. If the lift is over 80% of a crane’s rated capacity or uses multiple cranes, a professional engineer must approve the plan.
The plan is usually put together by the crane and rigging team, which often includes master riggers and lift directors. In more specialized settings, a designated site lift specialist or a similar authority may also review and approve the plan to check safety and compliance.
What should I do if site conditions change mid-lift?
If site conditions change in the middle of a lift, the lift director should stop the operation at once. A sudden shift in wind, a new obstruction, or unauthorized personnel entering the exclusion zone are all clear reasons to pause the lift.
Keep communication clear by using one signal person with radio or hand signals. Keep watching wind and site conditions, and stop work if lightning, heavy rain, poor visibility, or manufacturer limits make the lift unsafe.
When is engineered matting required?
Engineered matting is required when engineering standards call for it to keep the ground stable during crane operations.
You’ll usually need it when soil conditions are weak or unstable, such as soft soil. It often comes up during formal lift planning for more complex projects that need engineering drawings and crane stability assessments. L&M Crane can help make sure these site-specific lift safety and compliance requirements are met.
Related Blog Posts
Related Articles
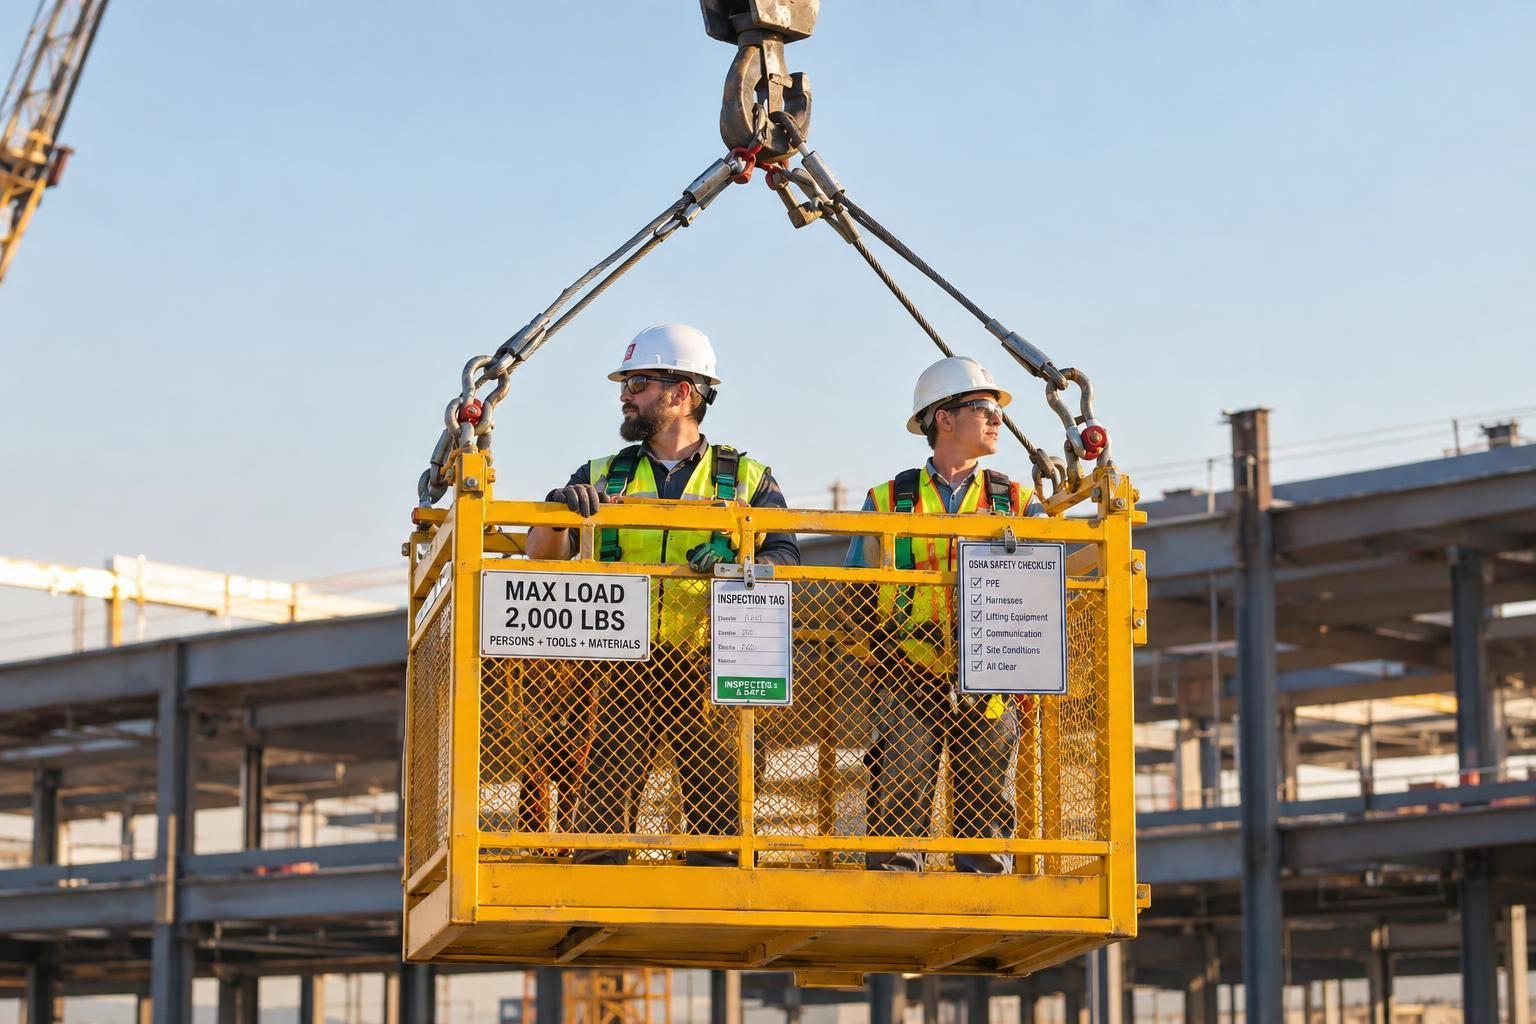
Man Basket Safety Standards: OSHA Guidelines
OSHA checklist for crane-hoisted man baskets: design, proof tests, trial lifts, fall protection, training, and rescue plans.
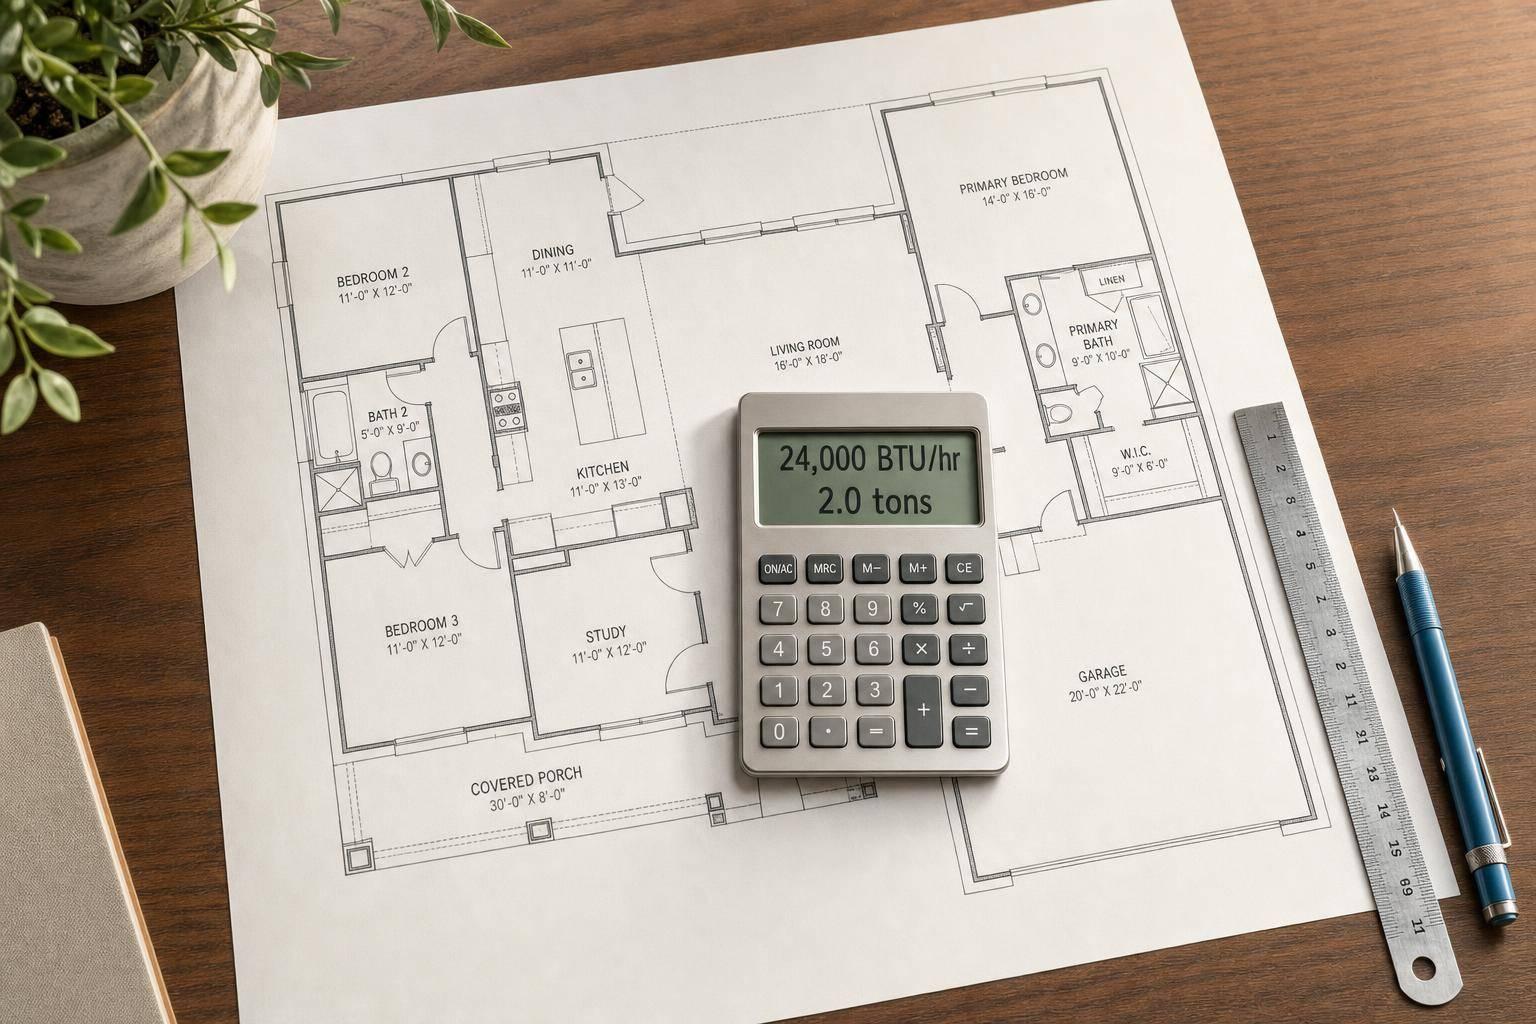
HVAC Tonnage Calculator
Estimate AC size in BTU/hr and tons using area, climate, insulation, and more—then compare your result with practical unit size ranges.
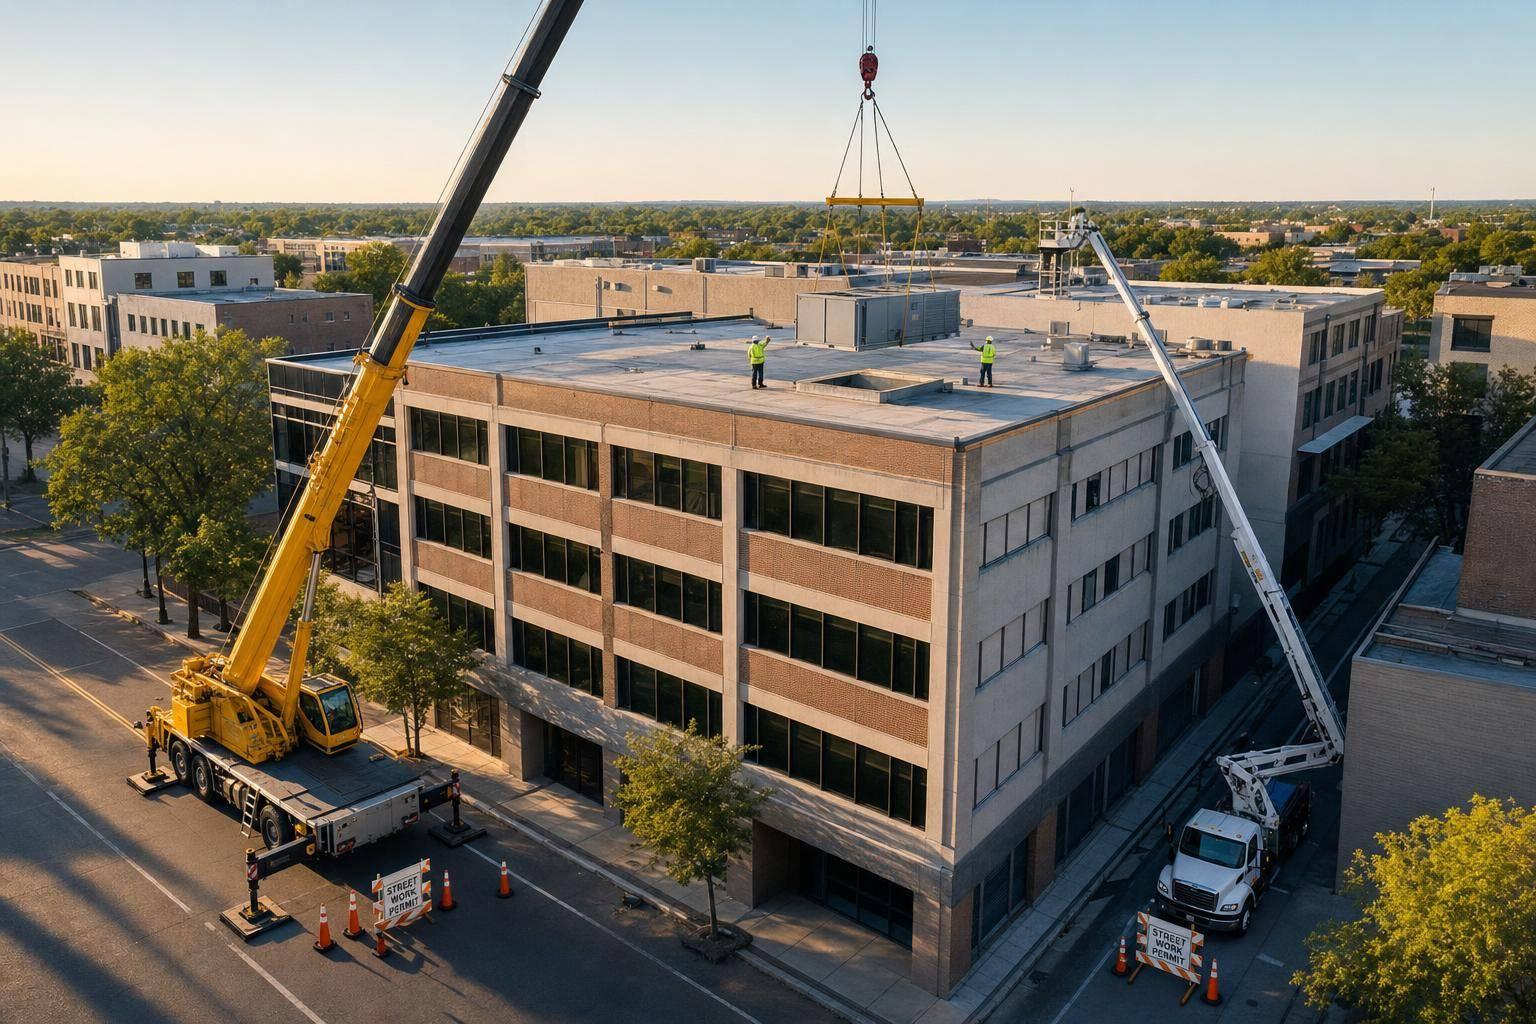
Crane vs Boom Truck for HVAC Lifting
Compare boom trucks vs mobile cranes for rooftop HVAC lifts—weight, height, working radius, site access, permits, and true job cost.